


Cobb Breeder Guide: Post placement chick management
Learn more about the brooding period 7 March 2024
 8 minute read
 By:
By: Part of Series:
Editor's note: This article is an excerpt from the Cobb Breeder Management Guide and additional articles will follow. The Guide was designed to highlight critical factors that are most likely to influence flock performance. The management recommendations discussed were developed specifically for Cobb products. The recommendations are intended as a reference and supplement to your own flock management skills so that you can apply your knowledge and judgement to obtain consistently good results with the Cobb family of products. To read or download the complete Guide or to view Cobb's other management guides, click here.
The importance of the brooding period cannot be over emphasized. The first 14 days of a chick’s life sets the precedent for good performance. Extra effort during the brooding phase will be rewarded in the final flock performance.
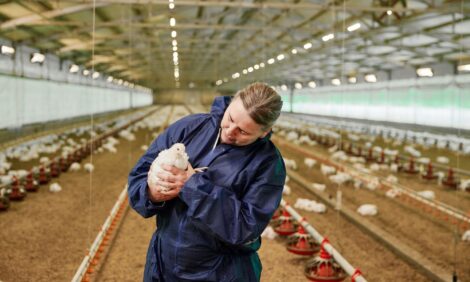
Chick comfort
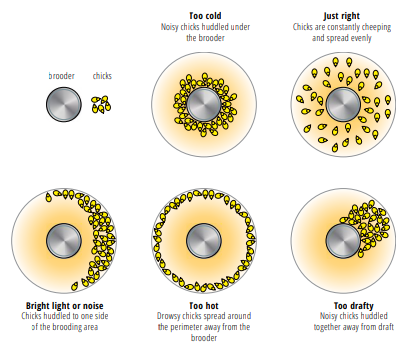
Check chicks 2 hours after placement which will give them time to settle and identify the reception area. Ensure they are comfortable. Chick distribution and behavior should be closely monitored after placement and within the first 24 to 48 hours of brooding. It is normal to see some chicks sleeping, some chicks eating or drinking, and some chicks actively exploring their new environment. If you observe chicks panting, huddling, chirping loudly or irregularly distributed within the brood area, investigate the cause(s)immediately. If not corrected, they can have a negative impact on flock welfare and performance outcomes.
While placing chicks and checking during the brooding phase, staff should talk at a low level and move calmly through the house to minimize stress. After ensuring that all chicks are placed and comfortable, staff should leave chicks alone for a minimum of 2 hours to allow them to acclimate to their new surroundings and to rest.
Brooding temperatures
Cold chicks will huddle with reduced activity, resulting in reduced feed and water intake and therefore reduced growth rate. If they are comfortably warm, the chicks should be evenly and actively moving around the brooding area.
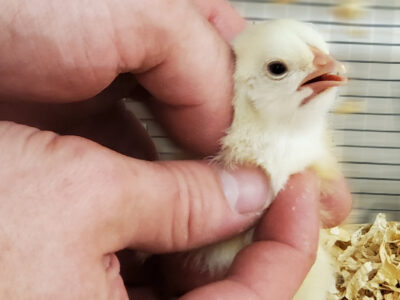
An excellent indicator of floor temperature is the temperature of the chick’s feet. By placing the chick’s feet against your neck or cheek you can learn how warm or cold the chick is. If the chick’s feet are cold, the internal body temperature of the chick is also reduced. If the feet are cold, re-evaluate preheating temperature and current ambient/floor temperatures within the brooding area.
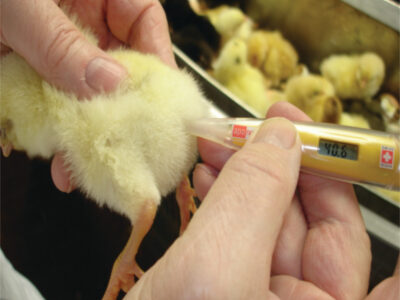
Chick internal temperature can be measured using a small rectal probe thermometer with a soft tip. Quick-reading, digital thermometers are recommended for these chick checks.
Hatched chick internal temperature should be 40 to 40.6 °C (104 to 105°F). Chick internal temperature above 41° C (106 °F) in first 4 days can lead to panting. Chick internal temperature below 40 °C (104 °F) indicates that the chick is too cold.
At hatch, the chick cannot adequately control its body temperature and is dependent on the environment for heat to thermoregulate. When temperatures are too high or low, the chick must compensate through panting or metabolizing energy to produce heat. Either scenario has a negative impact on weight gain, growth and welfare outcomes. Since chilling or overheating during brooding can result in poor growth, poor feed conversion and increase the susceptibility to disease, providing the correct temperature in brooding can ultimately have an impact on production performance.
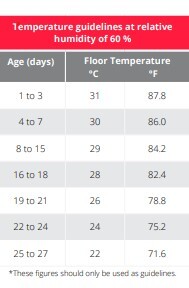
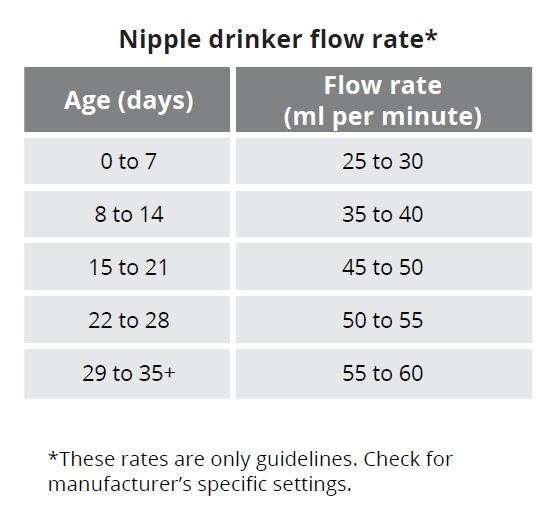
At 12 to 14 days of age, the chick will have the full ability to regulate its own body temperature. To compensate for the changes in chicks’ internal body temperatures, the size and heat production of the birds, and the development of thermoregulatory abilities, the brooding temperature must be adjusted every few days (see table).
Temperature conditions in the brooding area must ensure adequate comfort for the chicks. Optimal temperatures allow the birds to be distributed across the brooding area with proper access to water and feed. Monitor bird behavior often as this is a good indicator of chick comfort.
Chick hydration
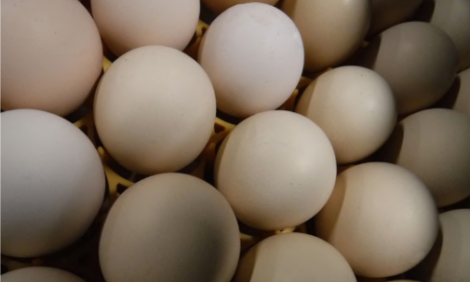
The yolk contains 1 to 2 g of moisture so the chick will lose weight but not become dehydrated. If chicks start panting, they can lose 5 to 10 g of moisture in the first 24 hours and then dehydration will occur. Higher relative humidity will reduce moisture loss but also impair heat loss, so correct brood temperature is vital. Chicks from smaller eggs (younger breeder flocks) require higher brooding temperatures because they produce less heat.
The yolk contains 2/3 fat and 1/3 protein with the fat for energy and protein for growth. If early feed consumption doesn’t take place the chick will use both fat and protein in the yolk for energy, resulting in inadequate protein levels for growth. Early feed intake is crucial for chicks to sustain metabolic processes such as internal body temperature.
Crop fill evaluation
The main objective of management during the first hours after placement on the farm is to achieve as much intake of water and feed in as many chicks as possible. Failure to achieve this objective will lead to irreversible problems with flock performance including poor growth, poor feed conversion and poor flock uniformity.
Sample 100 chicks per brooding area. If the crops of the chicks are checked 8 hours after placement a minimum of 85 % of examined chicks should have both feed and water present. A minimum of 95 % of the bird’s crops should be filled upon examination the morning after placement.
If too many crops are hard (> 15 %), immediately evaluate water availability, water temperature, flow rate, etc. to determine why chicks may not be accessing water in the brood area.
If too many crops are soft (> 15 %), immediately evaluate feed availability, feed location, feed presentation (uniformity and smell), and verify that the correct feed was delivered to the farm. Check ambient temperature and floor temperature as well to determine why chicks may not be accessing feed in the brood area.
Beak conditioning
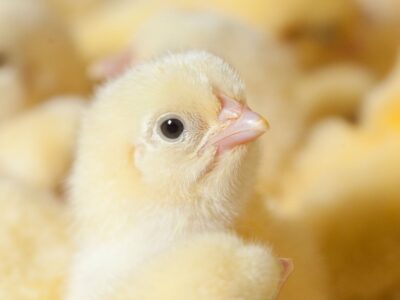
Beak conditioning can be done in the hatchery at day of age or between 4 and 5 days of age on the farm. In the hatchery, this procedure is performed by trained personnel and typically involves specially designed, automated equipment that provides an infrared treatment for the tip of the beak. Conditioning the beak at 4to 5 days on the farm requires more labor and special attention to ensure that bird stress is minimized.
Beak conditioning can have a positive net welfare benefit since it results in an optimal beak shape for breeders for eating and drinking, and it also can prevent aggressive pecking, a behavior that can lead to bird injury, skin trauma, and mortality. Moreover, if the top beak is significantly longer than the lower beak (hawk’s beak shape) the bird’s ability to drink and eat may be impaired. A longer beak on top may also negatively impact the mating efficiency of the rooster since he may have difficulty holding the neck feathers of the hen.
- The beak continues to grow as the bird ages and must be kept in good condition for eating and drinking. At various stages during the bird’s life, technical managers should evaluate the shape of the beak.
- Beak conditioning is especially beneficial for birds raised in open-sided houses or without controlled light intensity during rearing. Birds raised in houses without controlled lighting will normally have more beak growth and mature earlier than birds reared for 20 weeks in light-controlled (dark out) houses.
- Gentle pecking at feathers and objects in the environment is considered normal behavior.
- During individual bird vaccination (16 to 19 weeks of age), the shape of each bird’s beak should be carefully evaluated. The correct beak shape is necessary for eating and drinking, which, in turn, will promote maximum fertility and uniformity of the flock.
- The beak reconditioning equipment should only be operated by trained personnel to ensure minimal stress for the bird.
- Only the keratinized tip of the beak (clear portion) should be removed when reconditioning the beak tip.
- If the beak deformity is severe or a beak reconditioning is not possible, the bird should be removed from the flock and humanely euthanized.
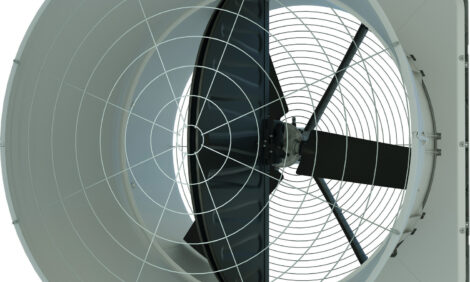
Water management
Ensure that both feeders and drinkers are in adequate supply, relative to the stocking density, and near each other. It’s important that these areas have the correct ambient, floor and litter temperature, protecting the chicks’ thermal comfort zone.
Supplemental drinker check
The supplemental drinkers should never be allowed to become completely empty (dry). Drinkers must be cleaned and refilled as necessary. Maintain maximum water levels in the supplemental drinkers until chicks are large enough to create spillage. Supplemental drinkers should be removed approximately 48 hours after placement. Water spillage and waste should be kept to a minimum especially during cold seasons because of
lower air exchange to eliminate moisture during these months.
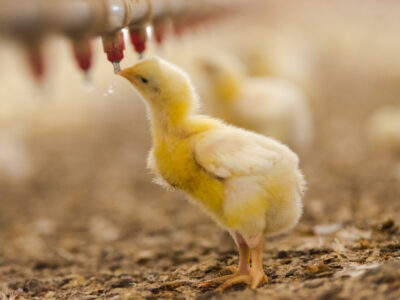
Nipple drinker check
Nipple drinker height should be at chick’s eye level for the first 2 days and then maintained slightly above chick’s head at a height that the birds have to stretch slightly to reach. The birds’ feet should always be flat on the litter. A bird should never have to stand on its toes to drink. Pressure should be such that there is a droplet of water suspended from the nipple. As a general guide, a nipple flow rate of 25 to 30 ml per minute is recommended in the first week. However, always refer to the manufacturer’s instructions.
Ideal water temperature is between 10 and 14 °C (50 and 57 °F), however birds can tolerate a wide range of water temperature; even so water temperature should never be greater than 25 °C (77 °F). If this occurs the drinking system must be flushed at least 3 times per day.
Bell drinker check
Frequent assessment and adjustment are essential. The bell drinker water level should be 0.5 cm (1/4 in) from the lip of the drinker at day of age and reduced gradually after seven days to a depth of 1.25 cm (1/2 in) or thumbnail depth. Bell drinkers must be cleaned daily to prevent buildup of contaminants. If necessary, in hot climates, flush the water system at least two to three times daily to maintain a correct water temperature. All bell drinkers should be ballasted to reduce spillage.
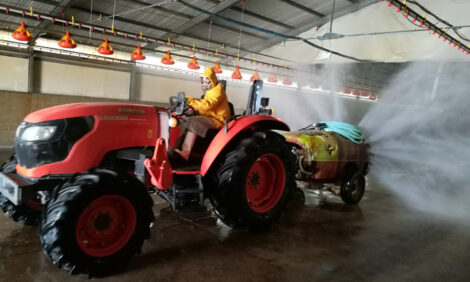
Flushing water systems
All poultry watering systems should be flushed daily, but at a minimum of three times per week to remove biofilm and control water temperature. If water systems are not flushed regularly, biofilms can form on the inside of the pipe decreasing water flow and quality. High pressure flushing requires having adequate volume and pressure. One to two bars (14 to 28 psi) of water pressure will create the velocity and turbulence in the pipe work to remove biofilm. In warm or hot climates, it might be necessary to flush more than once a day to cool the water temperature. There are automatic flushing systems that make the flushing job easier, saving the producer time and ensuring the water flushing happens. For systems with flush modes, set to flush at 2 seconds per meter (3.3 ft) of drinker line.